How to remove gel false nails? 4 steps to guide you
Do you love having beautiful, strong gel nails, but wondering how to remove your fake nails? Our Maryton nail supply will explain it to you in 4 steps in this complete removal guide.
Step 1 of gel nail removal: sanding the gel
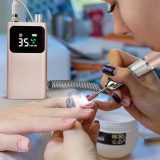
The first step is to sand the gel. I sand off the gel and stop well before reaching the nail below. It is necessary to thin the gel to remove it more easily. Concretely, I choose the appropriate nail drill, I turn on the device and off we go for the nail dance.
Step 2 of gel nail removal: filing the nail
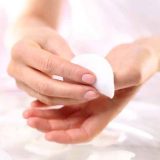
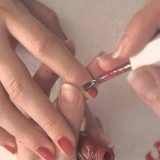
Once I have roughened the work, I opt for a file, which is softer when I approach natural nails. I carefully remove gel residue with this tool. Sometimes I use the polishing block in addition to the nail file.
Step 3 of false nail removal: care
Here is the finishing step, essential if you want a clean and pretty result. The care of the hands and nails allows them to regenerate better and to be protected. I take care of the cuticles, the free edge and I apply an oil to nourish and hydrate the nails.
With or without acetone?
Acetone is a solvent to be handled with care. It can be used to remove semi-permanent varnish, but the skin around the nail must be protected with a greasy cream such as Vaseline. Regarding the nail, it will be a little dehydrated, but it will quickly be balanced thanks to the care carried out at the end of the removal of the false nails.
OK! Now that you have known the things of gel nails and semi-permanent varnish, bring your manicure supplies and act now! It doesn’t matter if you don’t have nail tools. We have everything all you need.
Read also: 6 tips to keep healthy nails


