How to Do a Manicure at Home?
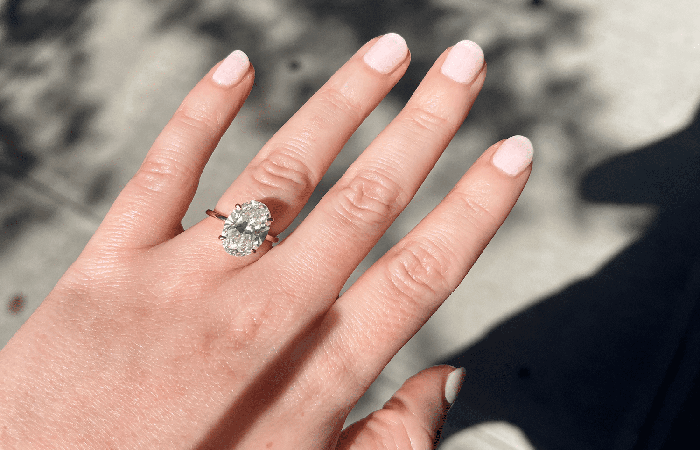
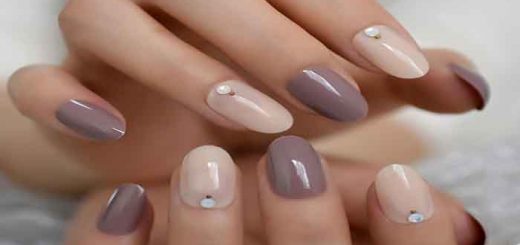
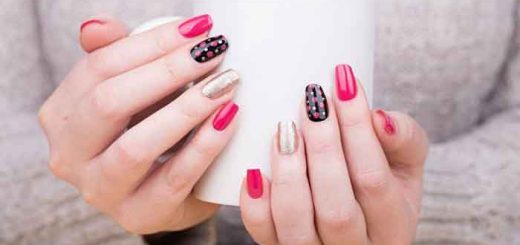
Ready for the perfect gel manicure at home? The nail expert Maryton has rounded up several top tips to help you achieve a seriously gorgeous manicure!
1. Prep Nails!
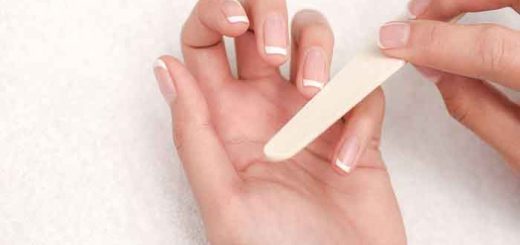
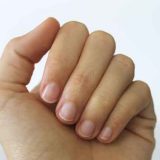
Start by pushing back your cuticles with the softest part of the cuticle pusher. File your nails into the desired shape, then gently buff the entire surface of your nail with a buffing block.
2. Clean Oils from the Nail!
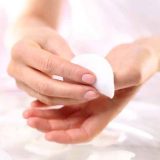
Wipe away all dust and oils with Cleansing Pads. This helps to dehydrate the nail. Then, be sure not to touch your face or hair or apply hand cream.
3. Super thin layers of gel!
The first layer should be ultra thin, as the gel is thicker than regular nail polish. To achieve this, shake the bottle to mix the formula and remove any excess gel from the brush by sliding it along the neck of the bottle. Apply a very thin layer of gel, covering the entire nail surface.
4. Paint and cure (one nail at a time)!
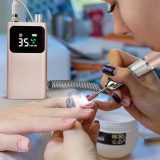
Paint each nail and cure immediately under the LED lamp, working one at a time. Don’t wait to paint all the nails to cure them all at once. It is important to minimize the time the gel is exposed to air, as it will start to shrink. Cure it as soon as you are done painting.
Expert Tip: If you want an even shinier finish and want to extend your manicure for up to 3 weeks, apply a coat of Top Coat.
What products should you use to do your nails at home?
– LED lamp
– Gel polish
– Manicure kit (including nail file, nail buffer and wooden stick)
– Top Coat for a longer, shinier finish
There is definitely a learning curve to applying gel polish at home, so don’t be disappointed or lose confidence if your first few DIY gel manicures don’t look fantastic or last for weeks. Don’t worry, you’ll be a pro in no time with just a little patience and practice!
Read also: How to Remove Builder Gel?
