Tips for successfully installing American Capsules

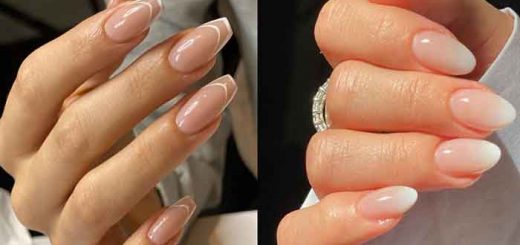
In the world of manicure, American capsules represent a real innovation. In this guide, Maryton Nail Supply will show you tips for successfully installing American capsules. Just keep reading!
Preparation of natural nails
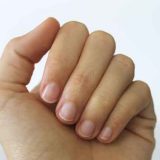
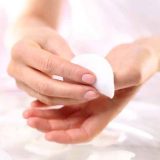
1. Start by cleaning natural nails thoroughly. Remove any existing polish and clean the nail of any oil or residue. Moisturizing the cuticle and surrounding skin is also essential to maintaining nail health.
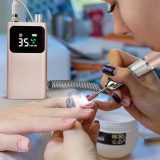
2. Use an electric nail drill to gently smooth the surface of your natural nail to create a slight roughness. This helps in better adhesion of the capsule. Make sure not to file too hard to avoid weakening the nail.
3. Apply primer to prepare the nail for capsule adhesion. This helps dehydrate the nail and improve the hold of the capsule.
Choice and application of capsules
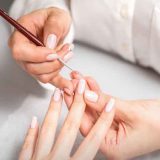
4. Make sure you choose caps that match the size and shape of your natural nails. A good fit is crucial for a natural and comfortable result.
5. Use a universal base before pressing the capsule onto the natural nail.
6. Polish the surface of the capsules to remove irregularities and create a smooth surface for applying gel or resin.
Use of finishing products
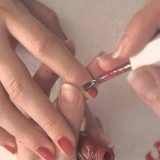
7. Apply builder gel or resin to strengthen the capsules and give a smooth and shiny appearance. Make sure to cover the entire nail for optimal protection.
8. Place nails under UV lamp to cure gel or resin. Follow specific product instructions for curing time.
9. To extend the life of the capsules and give them a lasting shine, apply a top coat. This adds an extra protective layer against scratches and chips.
Maintenance and care
10. After application, take care of your nails by avoiding activities that could damage them. Use gloves for housework and avoid prolonged contact with water.
11. Continue to moisturize your cuticles and the skin around your nails to maintain the health and appearance of your hands.
Read also: Beauty of the feet to sublimate
